The Shell
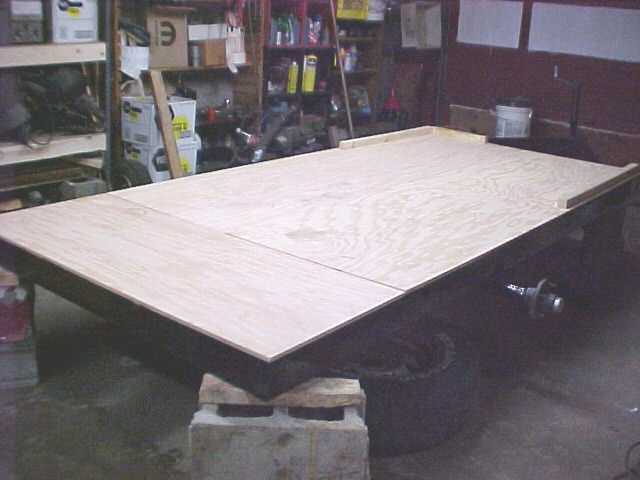
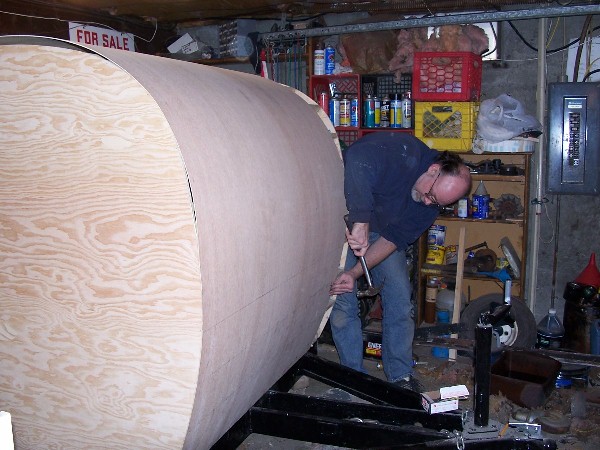
In picture 1 we are laying out the floor plan
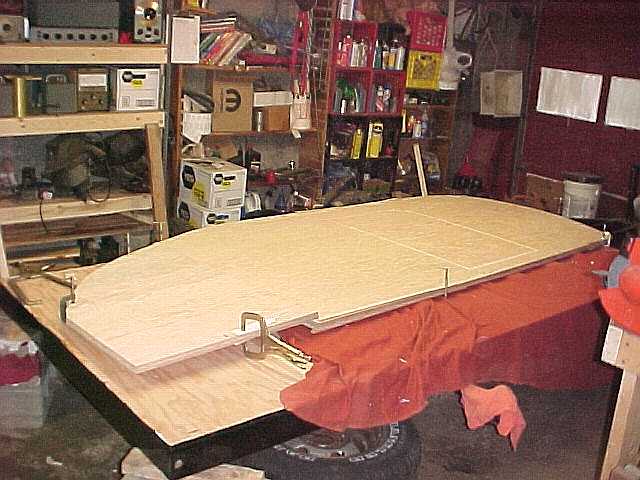
Picture 2 is the rough cut shape. Since the box is more than 8ft long each side is made up of 2 pieces.
So after both sides have their pieces permanantly affixed to each other they will be clamped together face to face and the
edges will then be final shaped by sanding, resulting in both sides being exactly the same (in theory anyway)
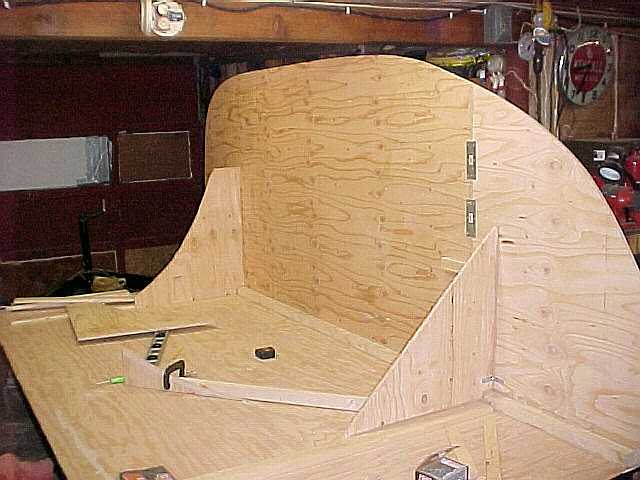
In picture 3 the first side has been attached!
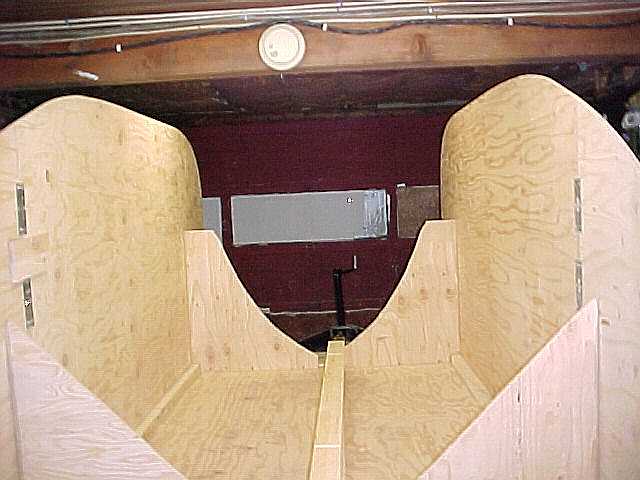
In picture 4 the second side is attached too!
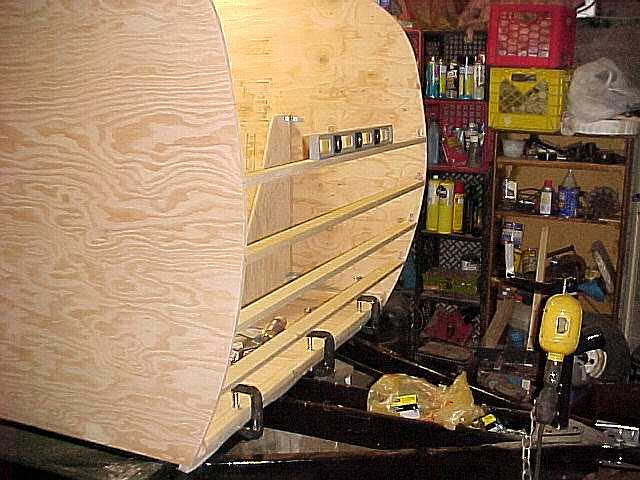
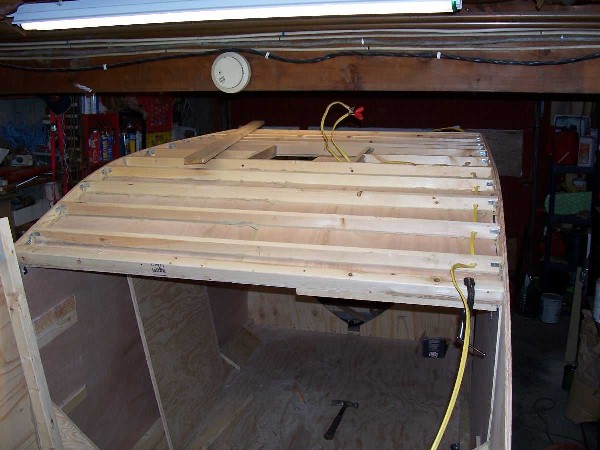
In pictures 5 + 6 are starting to install the roof supports
Picture 7 the support for the roof vent is complete
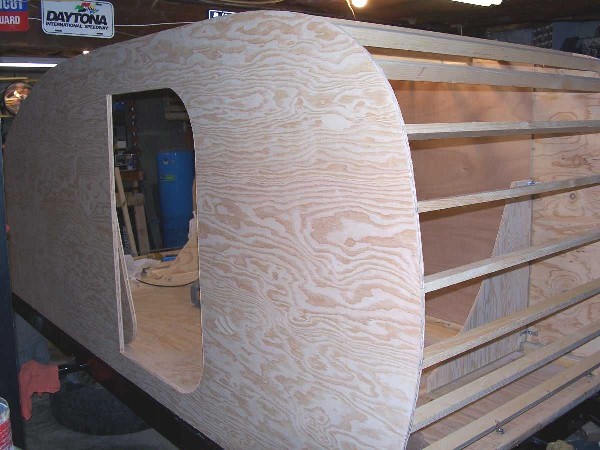
In picture 8 the doorway is being cut out
In picture 9 it's out!
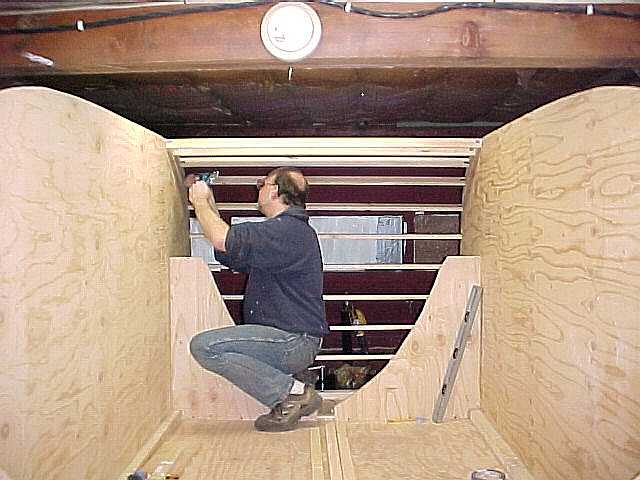
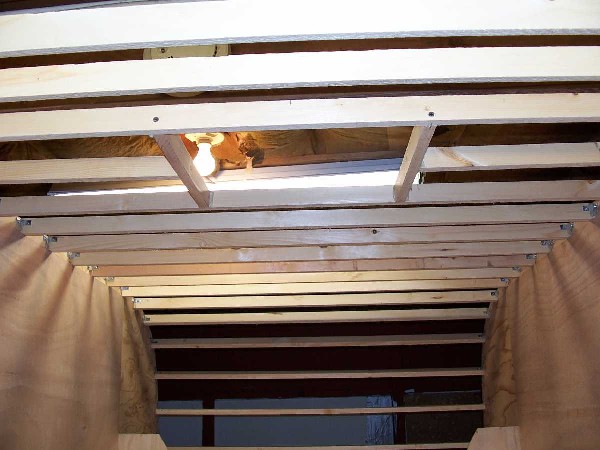
In picture 10 the first half of the inside roof is up
In picture 11 the ceiling from the outside
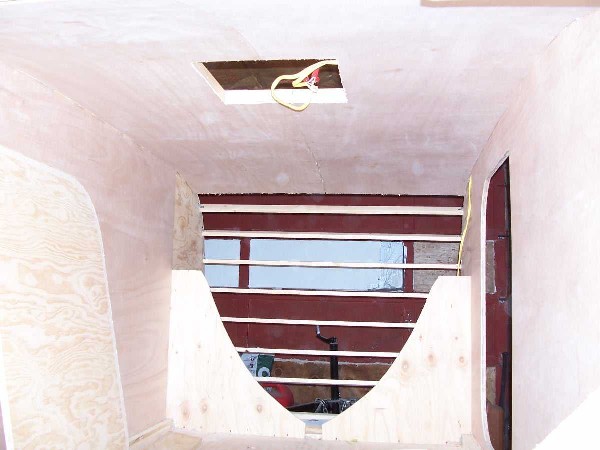
In picture 12 the ceiling on the inside
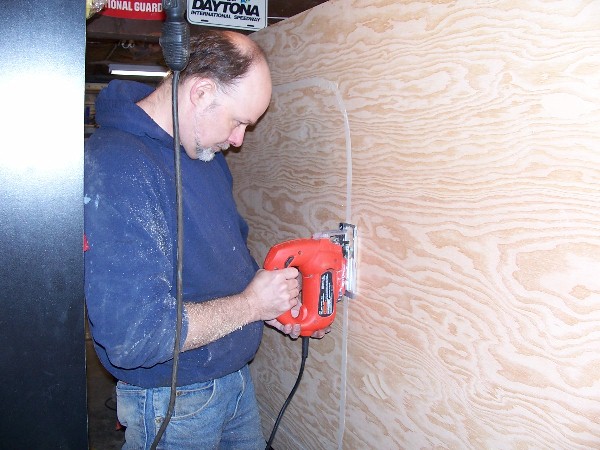
In pictures 13 + 14 we are putting the first 1/8 inch layer of luan on
the exterior there will be 2 layers
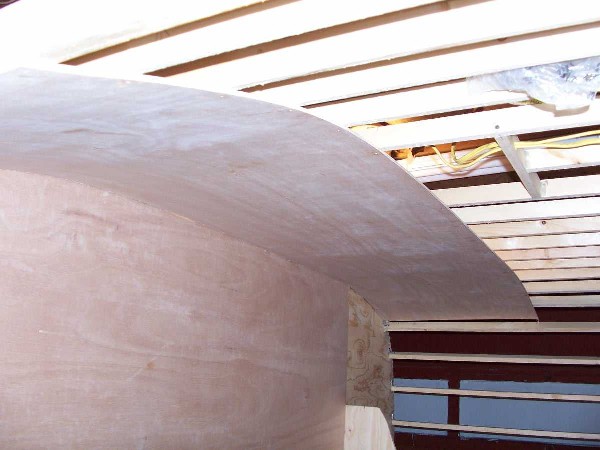
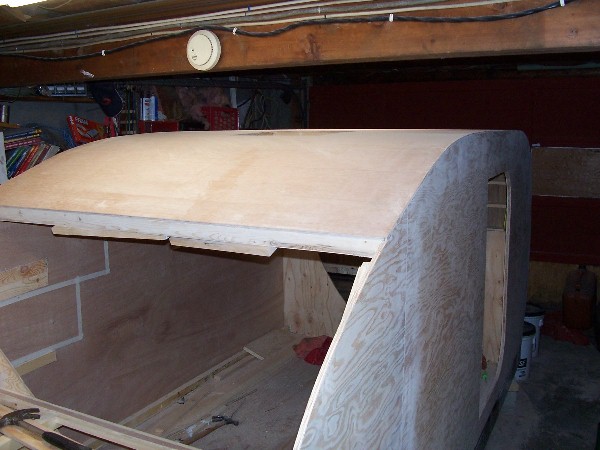
Picture 15 is the roof after the second layer of luan is on and the
edges are sanded flush with the sides
 |
 |
| 16 |
17 |
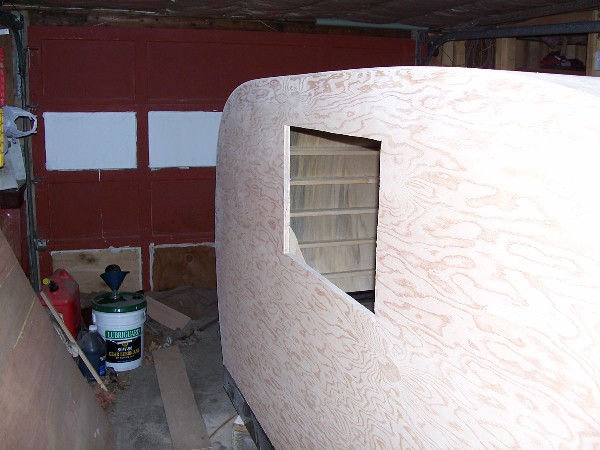
In picture 16 is the window cut out
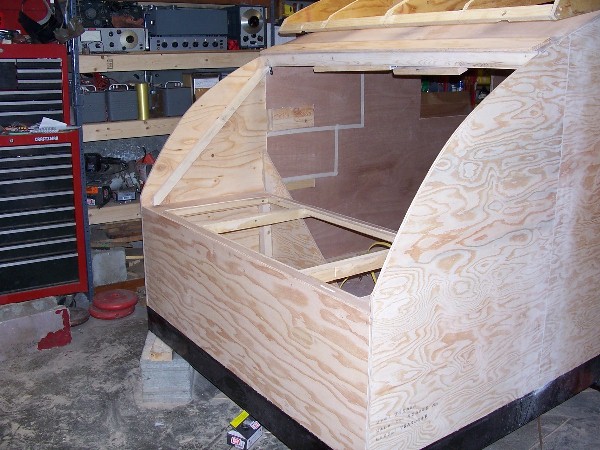
In picture 17 the rear panel has been installed

 Created by the IKE Development Studio