Mike's site.

Mike's pics


Home | Mike's pics | rocker repair | camper


dscf0100.jpg

Intake removed.

dscf0106.jpg

Old manifold.

dscf0099.jpg

New manifold.

dscf0107.jpg

Crack in manifold.

dscf0097.jpg

New manifold.


heater flapper
flapper3.JPG

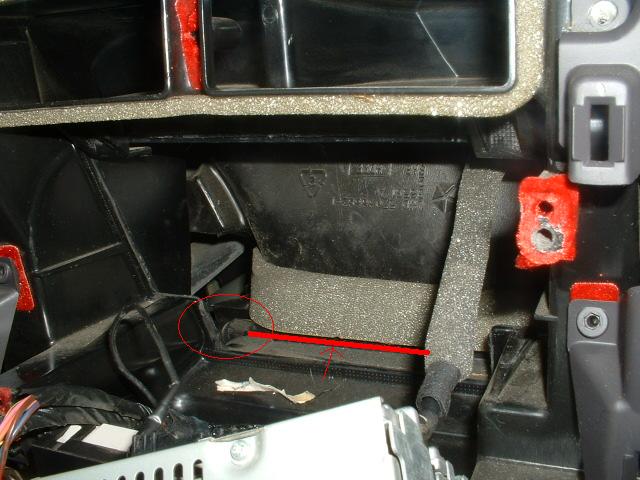
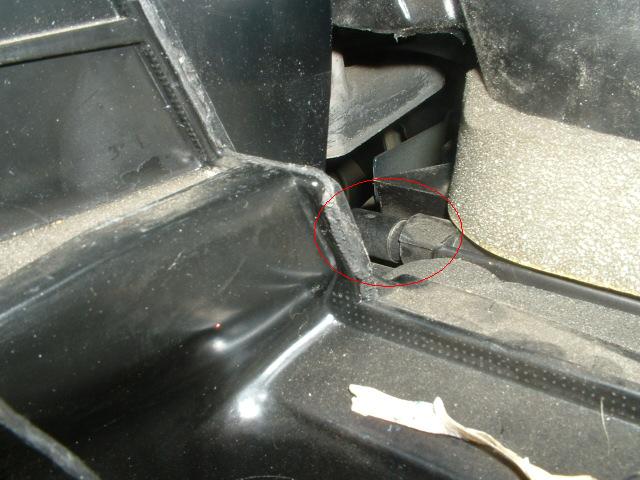
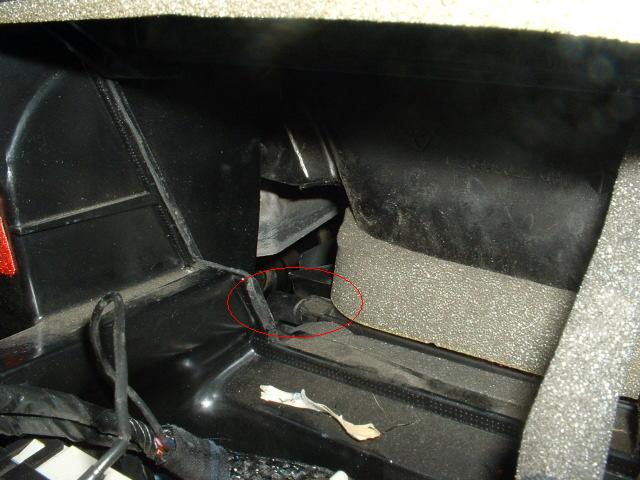
You can see where the vac actuator attaches to in the circle.  The horizontal red line is where the flapper is.  If you gently pull the foam upwards you can see the flapper, if you can easily move it up and down then the arm has slid out of the end. If working correctly you should see the flapper move according to where the heater control is placed (with car running).


flapper2.JPG

The picture above and below are different zooms of the arm that clips into the flapper, mine keeps working it's way out and becomes loose.  You have to have the control set at defrost and then move the flapper while pushing in on the arm.  You will feel it go into some sort of keyway and click in.  The issue seems to be the tension put on this arm from the vac actuator.  If you move the control through the motions you will see that the arm will bend down because of the tension.  It's a poor design.  I think the only real fix is to relieve the tension with a longer arm to the actuator.  This can be seen by looking under the dash but is a tight location without removing everything.

flapper1.JPG

Below is the clockspring being replaced

DSCF0018.JPG

Disconnect the battery and let sut for 5 minutes while you get the tools.  These screws that hold the airbag on the wheel uses an 8mm socket, one on each side.

DSCF0019.JPG

Here's the airbag flipped down, disconnect it and put it aside.  The black wire with the clear cover has a little metal clip holding it. 

DSCF0020.JPG

Here's the new clockspring.  It cost $104, including shipping, at the website below.  The part number is 56009071 for the one with cruise control.  Notice the T clip, this holds the spring until you get it installed.

http://www.trademotion.com/partlocator/index.cfm?action=searchCatalogOEM&siteid=214868

DSCF0021.JPG

I used my impact gun with a 21mm socket to loosen the nut.  Then attached my cheapo puller and the wheel popped right off.  Make sure the wheel is centered and scribe a mark so you install it back in the same place.

DSCF0022.JPG

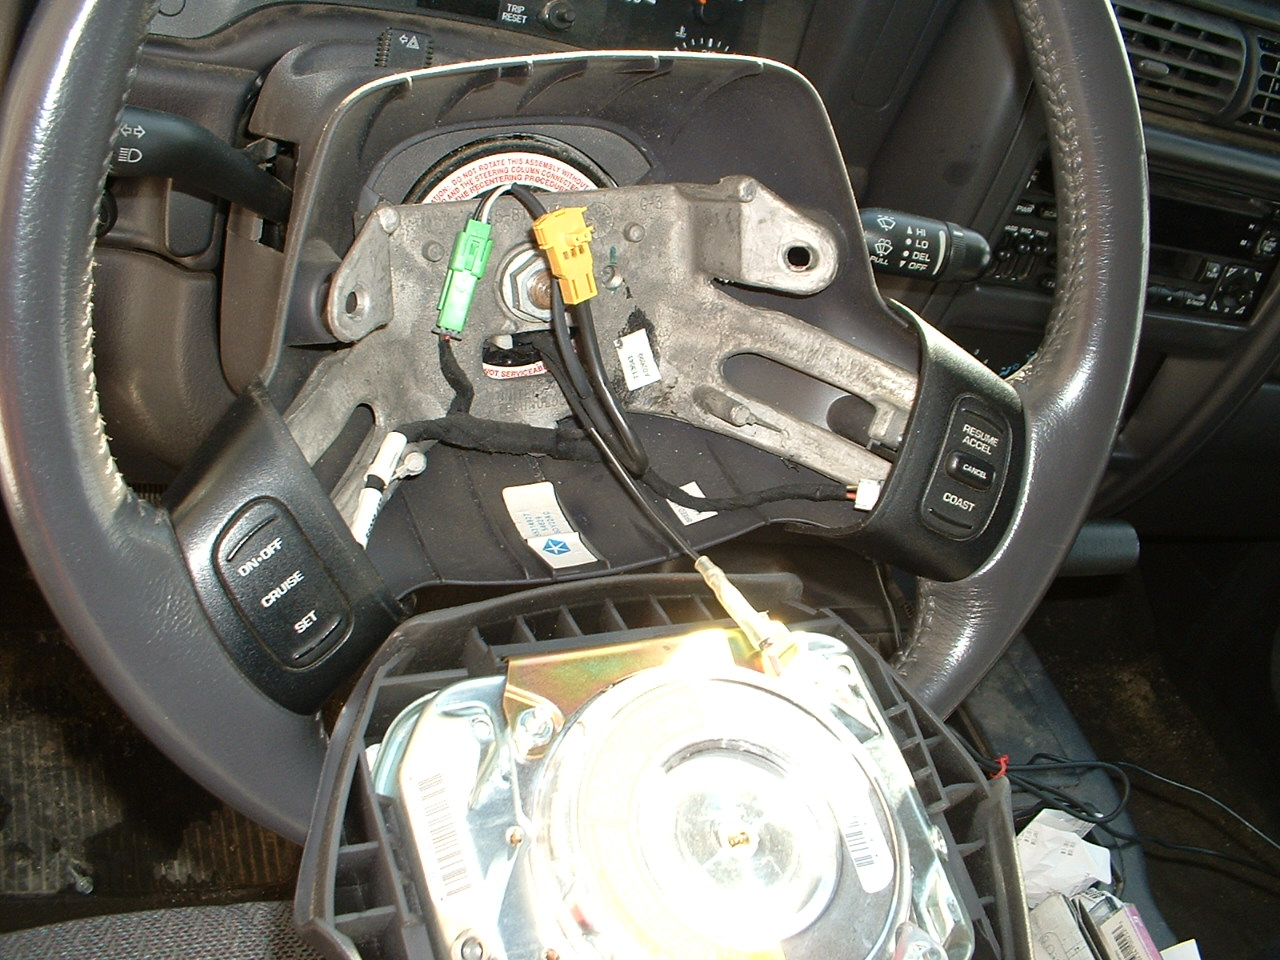
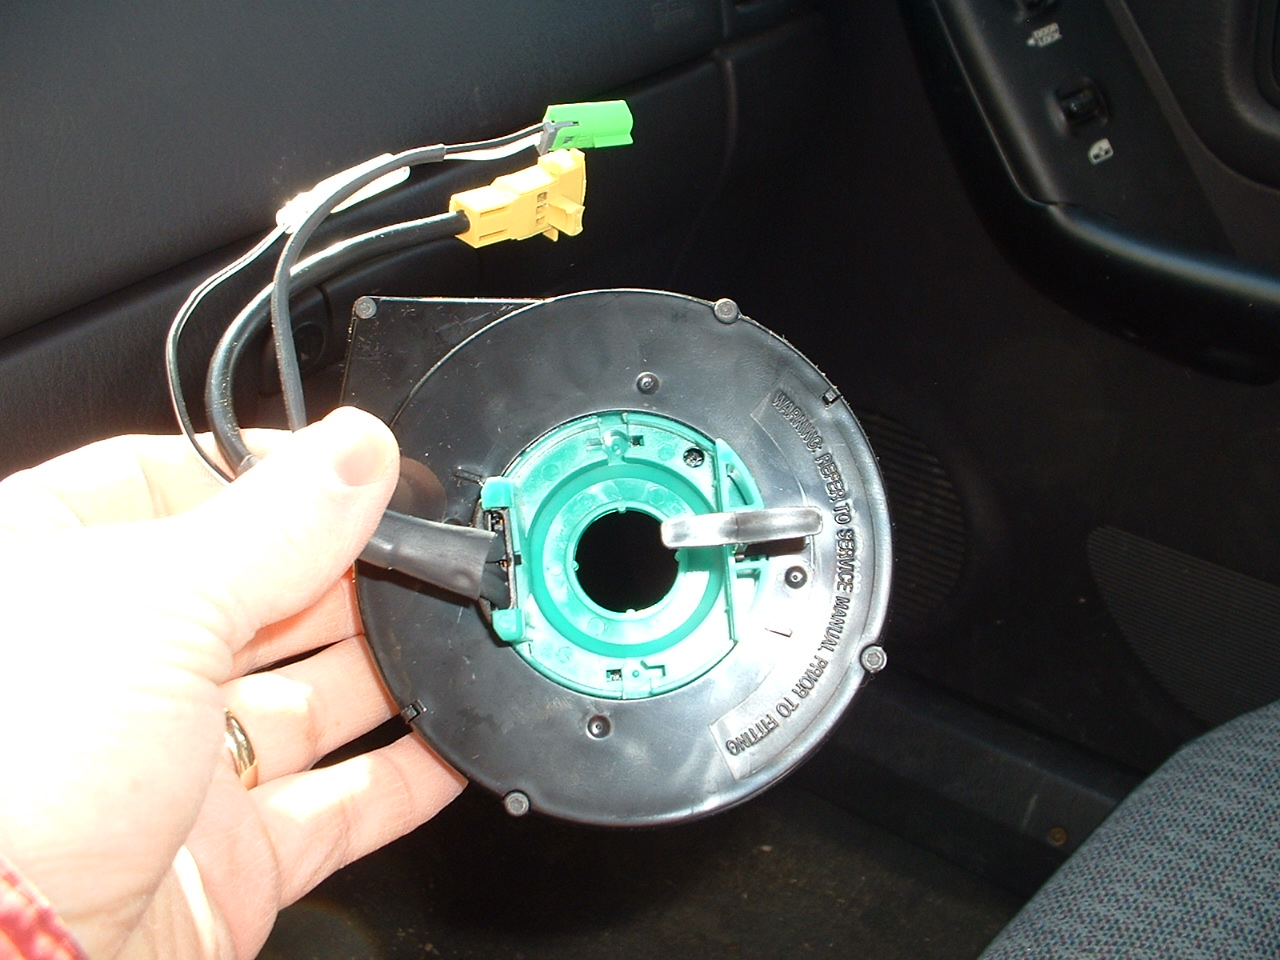
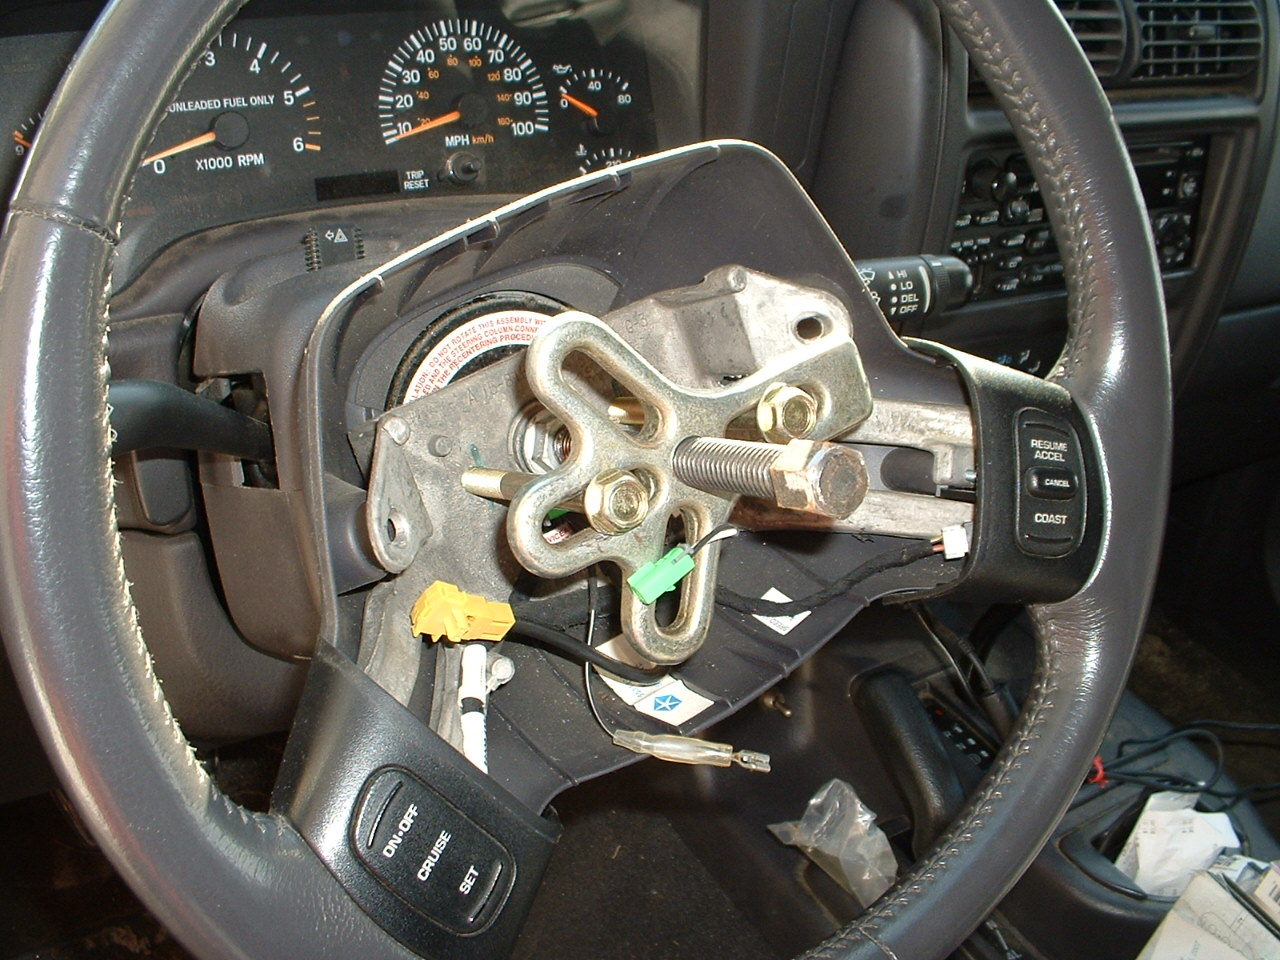
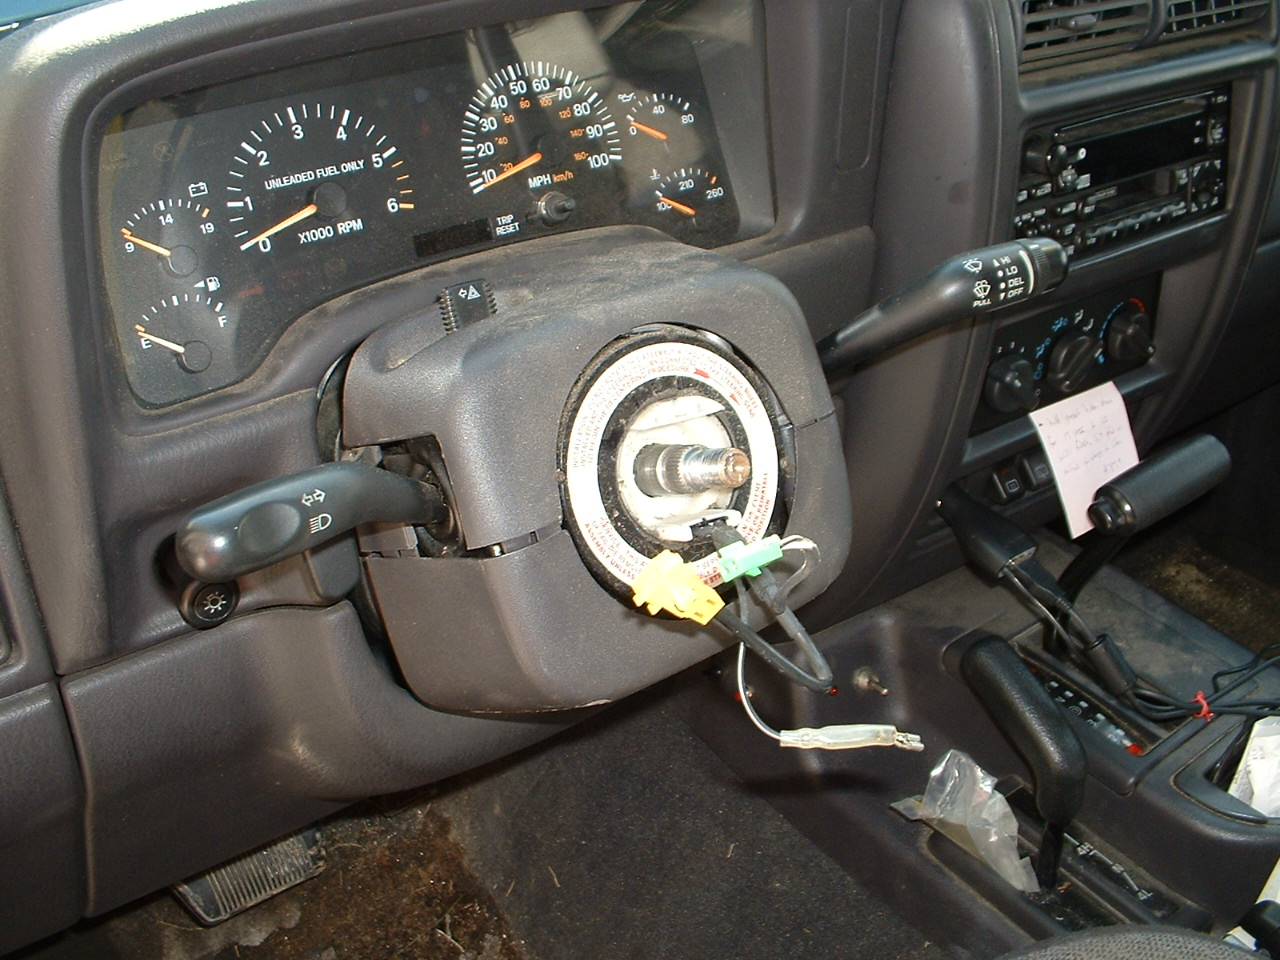
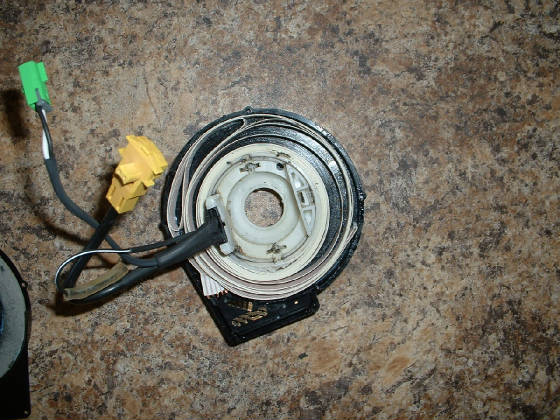
Here's the old clockspring.  You have to remove the lower philips screws so you can spread the covers enough to get it off.  It is held by 2 clips, it's easy to pry off by sliding a screwdriver underneath.   There are 2 connectors underneath the clockspring.  Installation is the reverse of the removal making sure everything is straight.  Do not remove the clip that holds the spring in one spot until everything is lined up.   I started the car while outside of it just in case the airbag decided to explode.

DSCF0024.JPG

Here is the inside of the old one.  It looks like maybe the greese froze and made it stick in one spot so that when I turned the wheel it got folded.  After folding it then ripped off the end.  I suppose I could have soldered it back on but I prefer new so hopefully it won't happen again while I'm the owner.