BN Restoration

Some lighter work . . .

. . .if you can believe it.  After doing the seals on the rear end, I mounted the rear tires and rolled the tractor onto the ground.  Nothing is ever simple, of course.  I had ordered new tires and rims and had them drop shipped to a tire dealer just outside Kingston.  I went to pick them up and found that the front rims were unpainted (fine), but the rears were painted very nicely, for some other make of tractor.  So I never even took them home -- I dropped them with the paint and body guy, Dwayne, who will be applying the red paint to the tractor, for a few good coats of dull aluminum.  They turned out very nicely.

The wheels were another matter.  When I got the tractor to New York, I found that the wheels were in generally good shape, but the brackets of the left rim had been welded to the wheel.  From outward appearances it looked as if this might have been done after one of the brackets failed, allowing the bolt head to pull through.  Weld one, you might as well weld them all, eh? Problem is that you restrict your ability to adjust the wheel tread width.  (This explains why, in the old picture of my brother and me on the BN on the home page, the tread of the right tire is running backwise--all they could do to adjust the tread to what they needed was swap wheel and all from side to side, using only four of the eight possible tread widths -- with the tire tread running backward in two of those four positions.) I asked around the neighborhood as to whether we might have a clever welder among us who could get the rim and wheel apart, and was pretty unanimously directed to a fellow who lives just down the mountain from us, across the stream.  I've seen his place for years, and you would probably not think of leaving anything made of shiny metal there, but John is a good sort, has led a pretty interesting life, and has a yard full of metal objects in various stages of fixing up.  The largest part of them seem to be in the waiting stage.  John took on the job and insisted on picking up and delivering the offending wheel.  I did stop in after he had it done and found the real reason for the original welding job. At some point, it would seem, the nuts holding the rim to the wheel loosened up, allowing the bolts to wobble. This must have gone undetected and unremedied for some time as the bolt holes had been worn into a lovely egg shape.  Some time spent on the web and the phone and I've been able to locate a good wheel at a reasonable price and will pick it up when I get a chance.  The original was not so far gone, though, that I couldn't use it just to roll the tractor down off the trailer.  So, that's that part of the project.

The motor (Tractors, for some reason, have motors, not engines, which is contrary to anything I was ever taught.) is still stuck and that's the next thing to tackle.  The old letter-series Farmalls are great, especially the A, B, and C series. They come in four parts. The front end, where the front wheels and the radiator are mounted comes first when you're in forward gears. Moving toward the rear, the front section bolts to the engine block, or crankcase. The back of the crankcase is bolted to the torque tube which serves the same purpose as the bell housing on a car or truck and encloses the equivalent of a driveshaft. This in turns bolts to the transmission and rear end. These four pieces make up the entire tractor, and also are the frame.


The first step was to remove the front end. This was done with the engine hoist after removing just four bolts and exposed the very dirty front of the engine. The cooling inlet is to the right of the pulley. The governor is above and to the left. The engine head is off and, I've replaced two of the studs on top of the block with bolts through washers and a chain in preparation for the lift. The front end will be cleaned up and primed much as the rear end was.

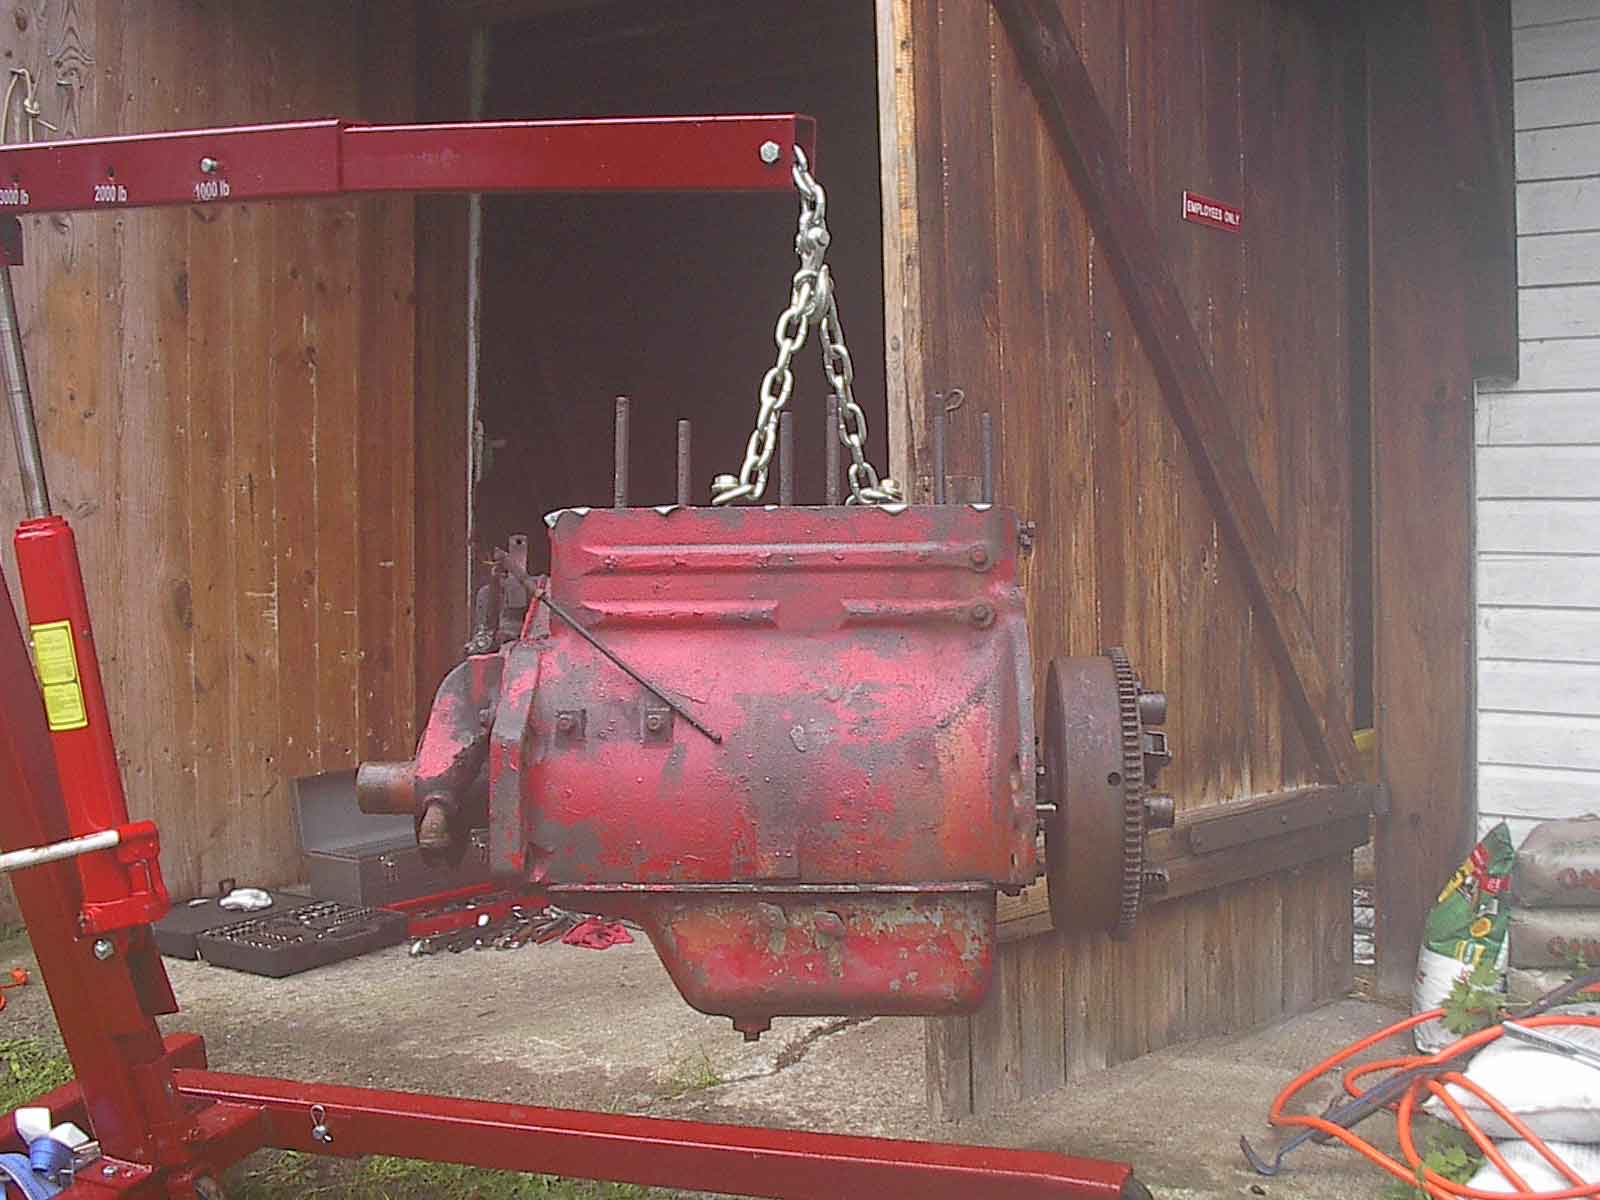
Six more bolts and here is the motor, free and clear. I removed the clutch and flywheel from what is the right end in this picture and mounted the whole works to an engine stand for cleaning up and tearing down. 

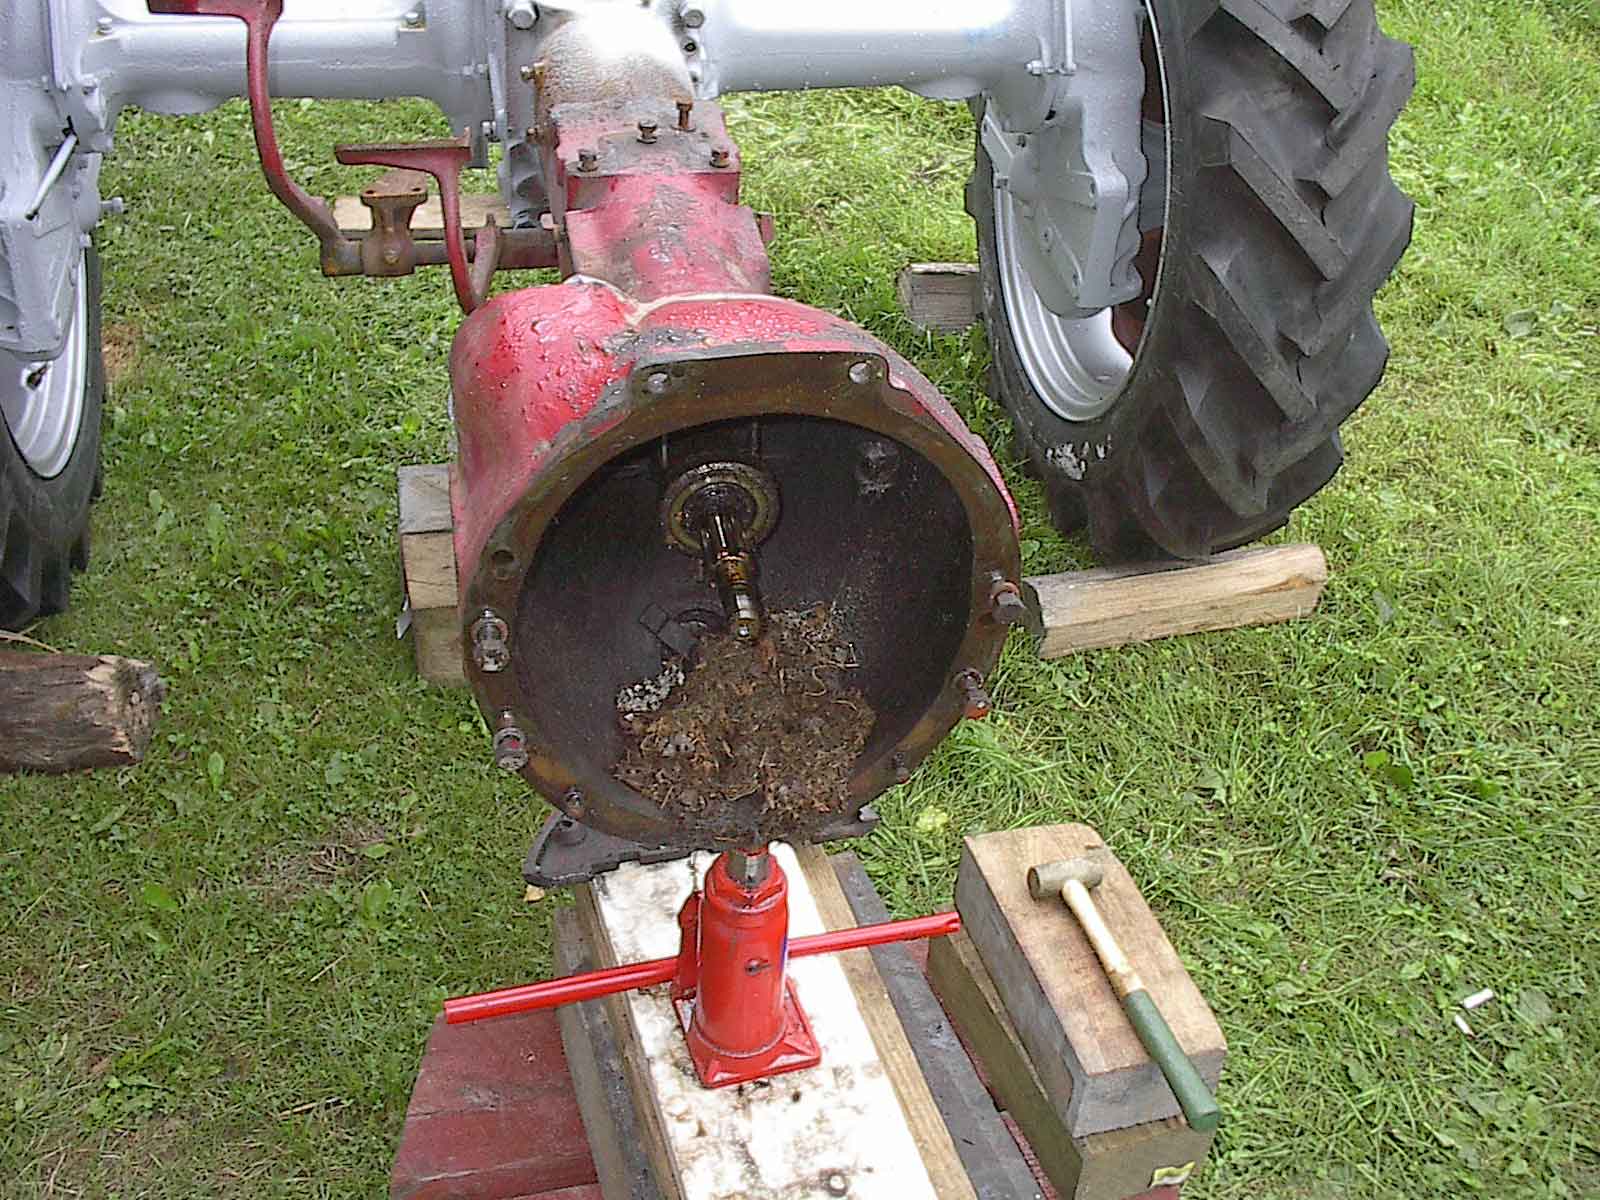
IH Part No. 642 539 R2, the obligatory mouse nest in the torque tube. Every Farmall has one. Exhaustive research in the International Harvester archives now kept at the Wisconsin State Historical Society discloses that this part, though an official IH accessory, was not installed at the factory, but was more commonly a field installation.

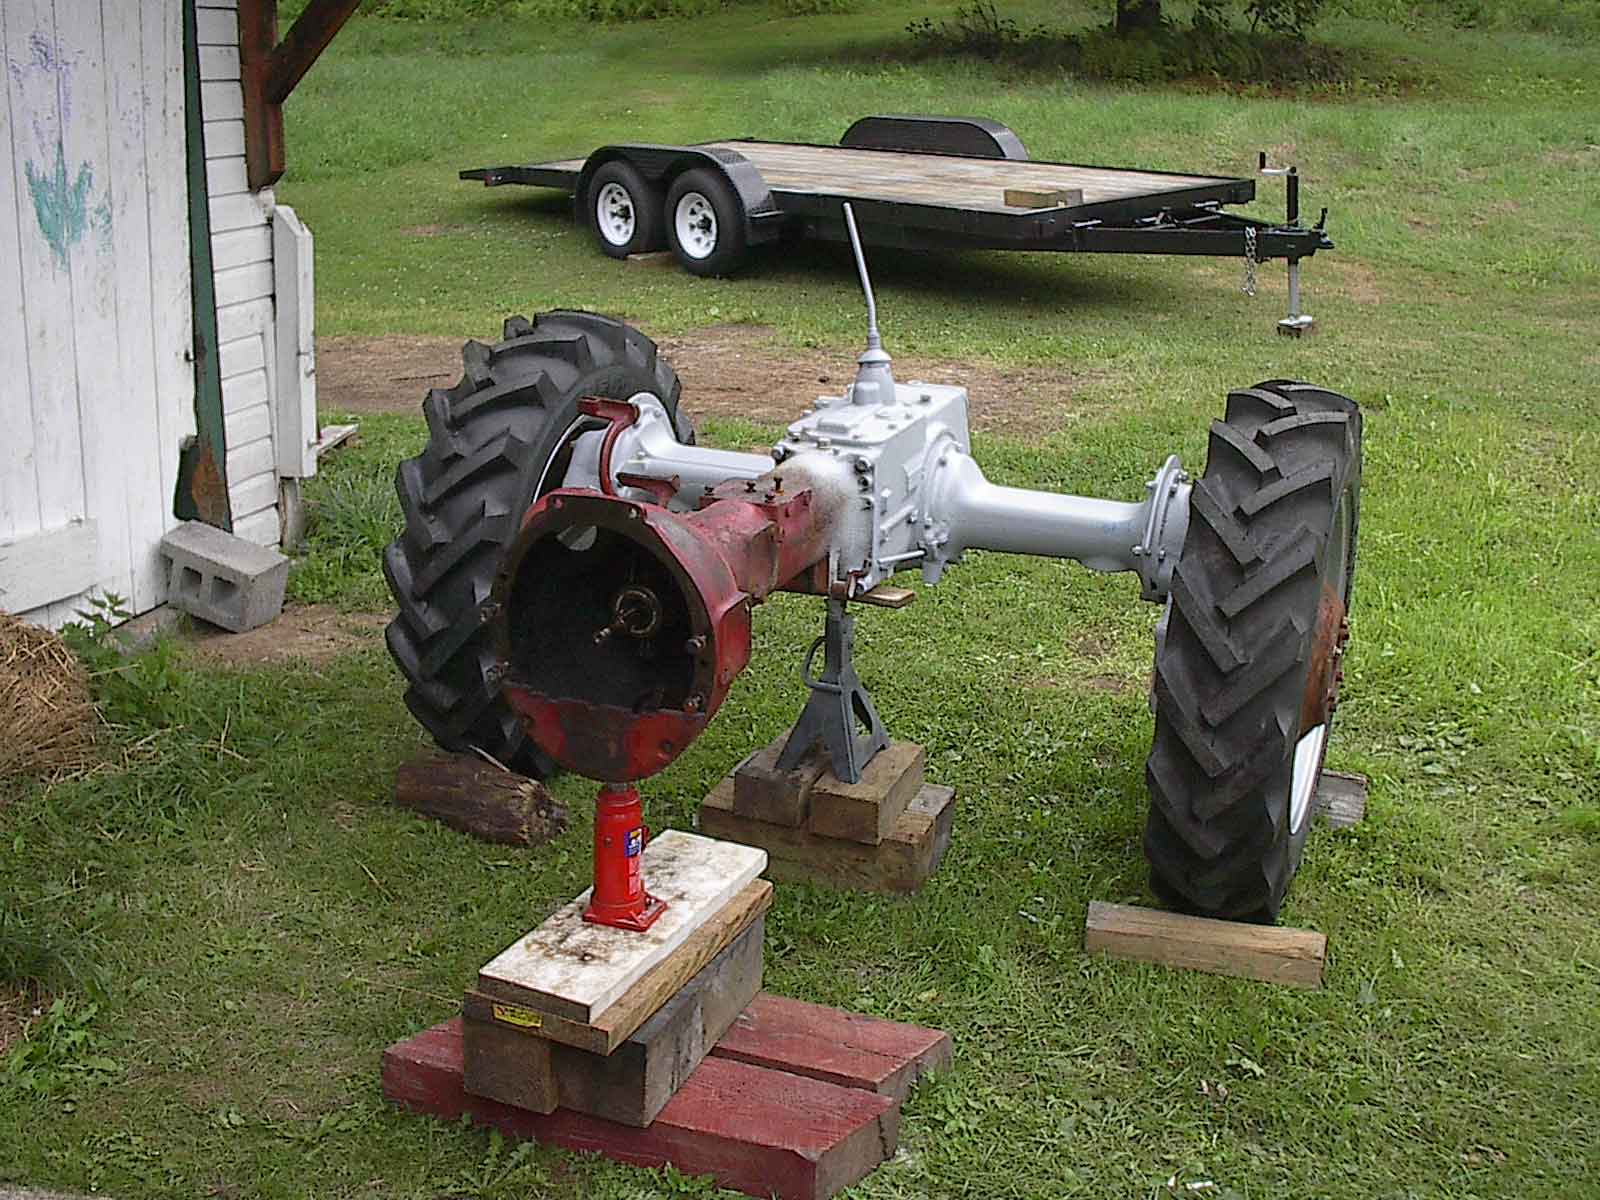
This is what is left outdoors. The torque tube will come off next. I'll probably sandblast and prime it at the same time I do the replacement wheel. I could have done that on the tractor as part of the rear end project, but I still have to replace the seal where the driveshaft passes into the transmission, and that requires removal of the torque tube for access. Besides, I'll be using a much more aggressive abrasive to deal with the pitting under the battery box, and I don't want that stuff anywhere near the rest of the project.


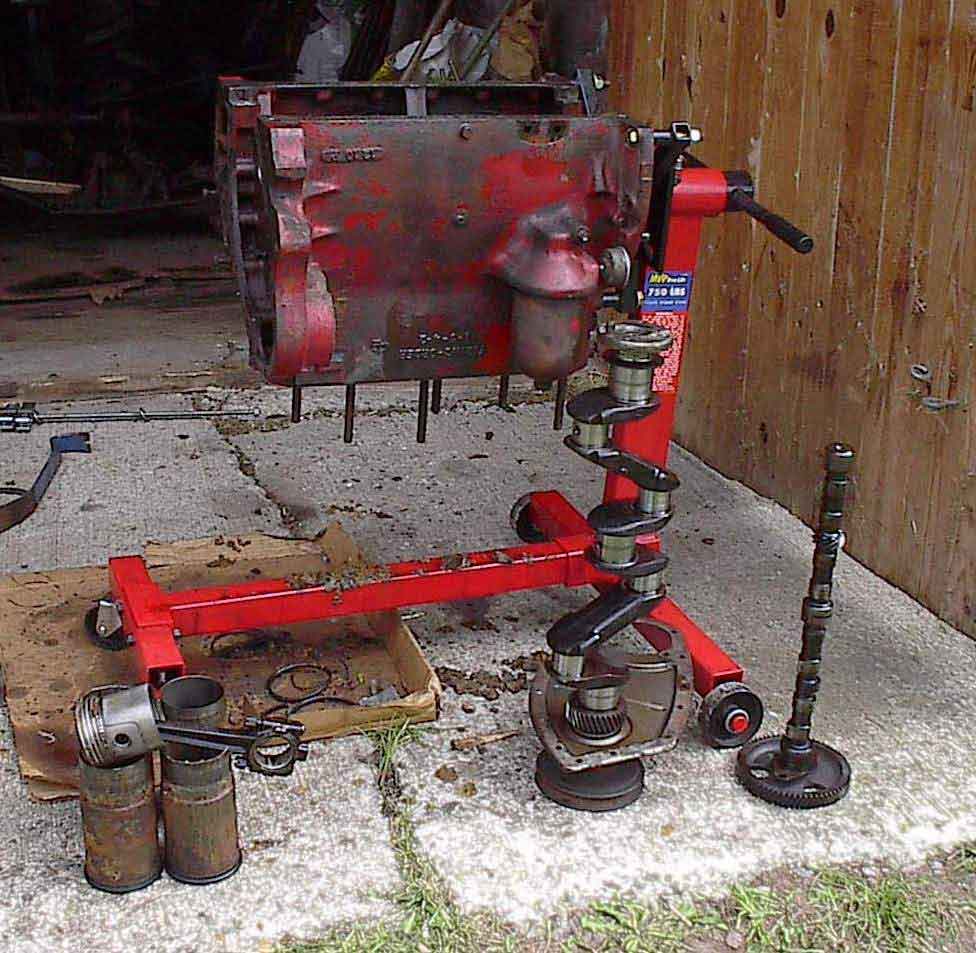
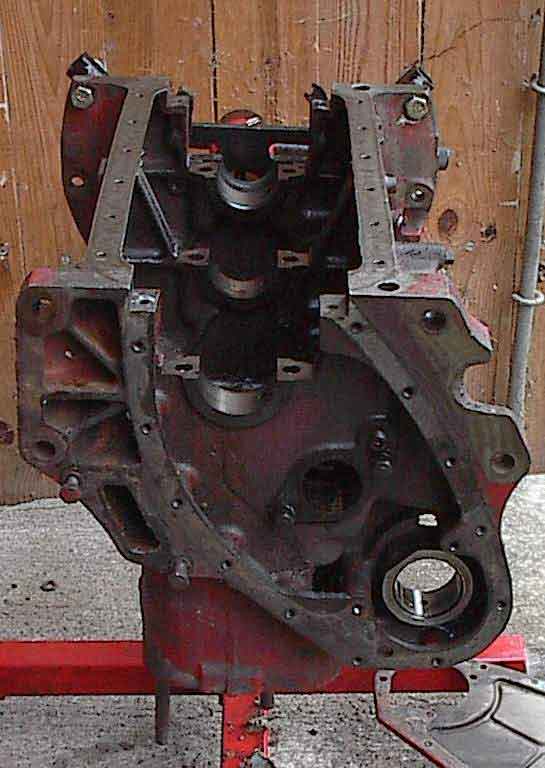
It took a couple more hours to get to this point.The crank and cam came out without a lot of fuss, as did the first and fourth pistons and rods. Two and three had taken on rainwater in the six years that the tractor set out with the exhaust open and were frozen tight. The number three piston drove out hard. Number two was stuck so fast that the piston never moved and I drove out sleeve, piston and all. I wound up abandoning the hammers, and had to cut that last sleeve apart with an angle grinder to get my connecting rod back.

The engine was rebuilt by a high school shop about twenty years ago, and was never worked much, and certainly not worked hard, after that. I was pleased to find the crankshaft to be in good shape, and things generally pretty clean inside -- certainly cleaner than the SuperC was when I opened 
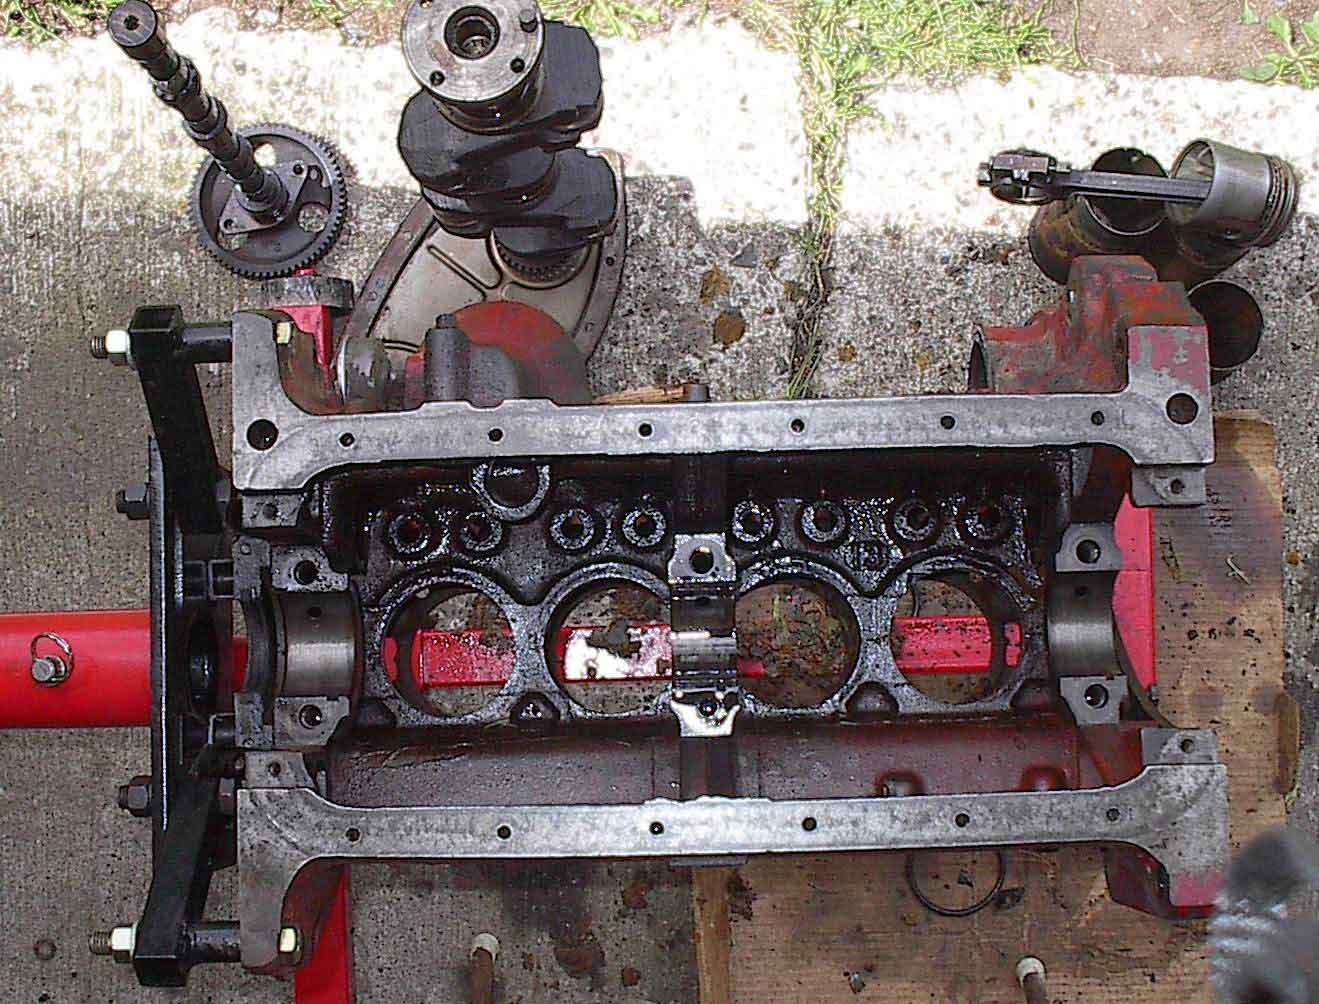
it up. The crank can go right back in with new bearings. This view from above looks into the bottom of the engine. The shiny black stuff around  where the sleeves fit through is not sludge, but oil on a rough part of the casting. The slight orange on the lower right inside is a paint type sealer to keep oil from seeping into the iron. It has been wiped clean and is a more accurate indication of the condition of the lower half of the engine. The upper side, where the coolant flows, has a lot of sludge. I'll scrape the heavy stuff away and put the pressure washer to it.


After dealing with the mess in the rear end, I'd had my doubts about what sort of job the high school shop had done all those years ago. The overall condition of the engine, though, suggests they made a good job of it. It is tight and relatively clean. The governor, often a trouble spot in old tractors, is in exceptionally good shape and won't require any rebuilding. From here, I'll do some light cleaning and go back to sandblasting and priming the wheels and torque tube while I wait for the new pistons and sleeves to arrive.


Back to Main Tractor Page
Back to First Restoration Page
Putting Things Back Together

 Back Home